This blog is a hodgepodge of things I want to share, from the good deals I find to my newfound cake decorating hobby and everything in between. Enjoy!

Friday, July 27, 2012

DIY Vases

Our July Pinterest party was at Tara's beautiful new home, and we decided to paint vases. I wanted to do two types of vases that I found on Pinterest, painting the inside of a vase and painting a vase with frosted glass. After setting up a well vented area and putting on a protective dust mask, we were ready to get started. 

For the frosted glass vase, I wanted to use rubber bands to give it a cool look. I pre-rubberbanded (I'm sure that's not a word, but I'm going to go with it) my vase at home the night before, and then sprayed it with three coats of frosted glass spraypaint. This vase cost me $0 since Tara purchased the spray paint and I had the vase and rubber bands at home.


For the vase where I painted the inside, I tried to find permenamal paint as suggested, but I had trouble finding it and then accidentally bought acrylic. I decided to try it out, since I wasn't planning to put water in the vase, just some dry twigs. The inside of the vase doesn't look great, but from the outside I achieved my desired look.


Congratulations Cake

My Aunt recently got remarried and she had a small get together with the family to celebrate. I was asked to bring the cake. I don't use flowers too much on my cakes since they can look a little old fashioned at times, but I thought that this was the perfect occasion to use them, and I think the result was cute!


Thursday, July 19, 2012

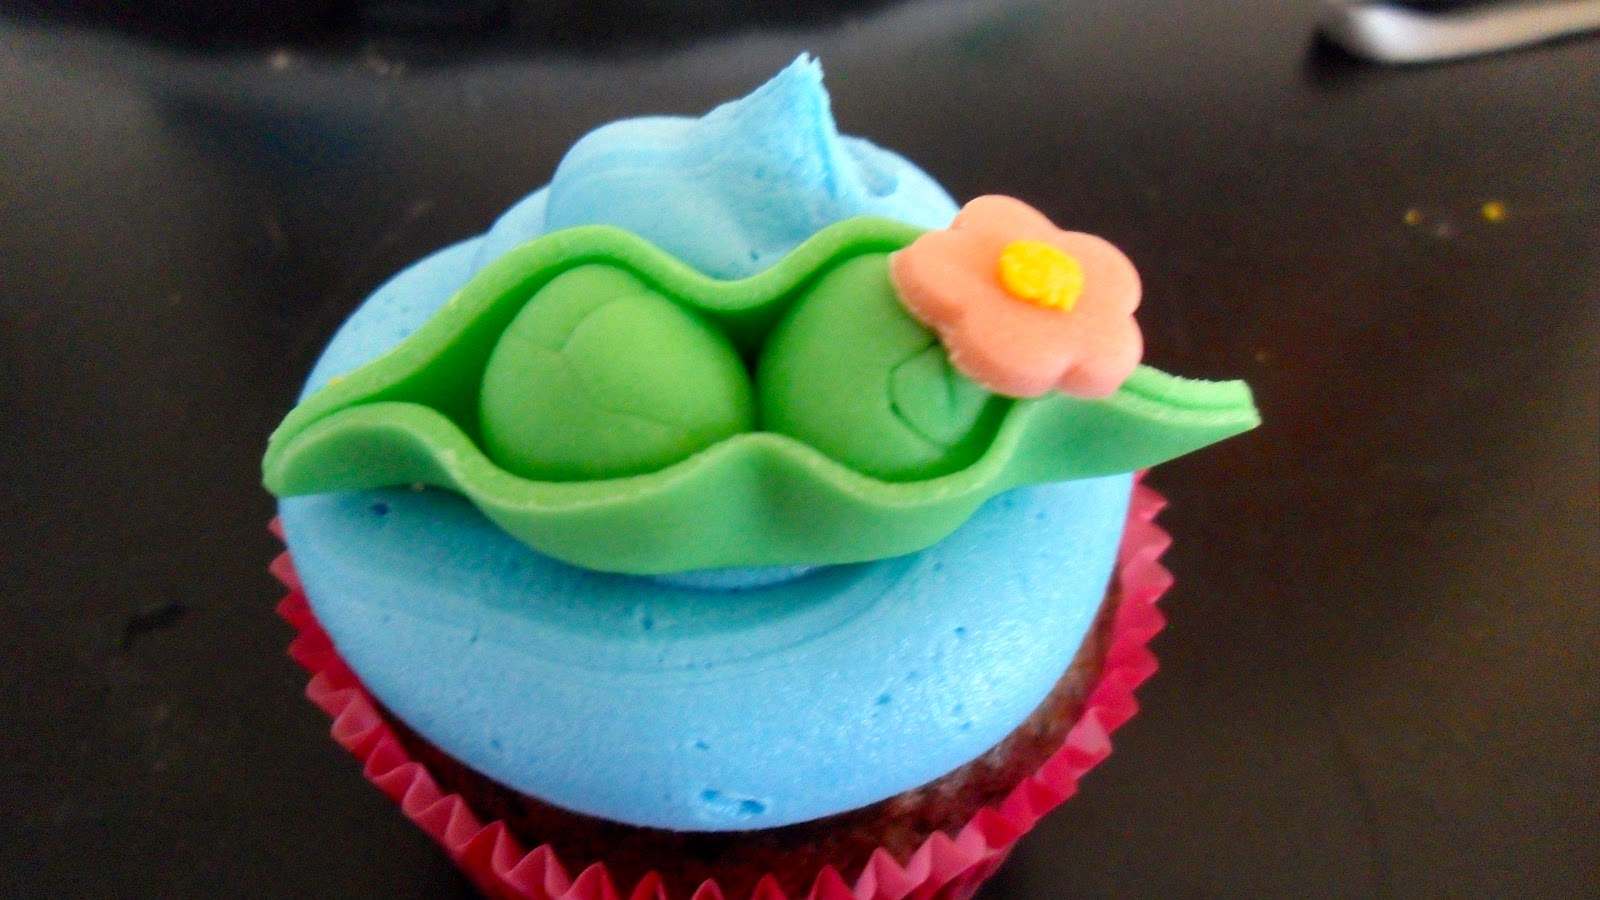
Pea in a Pod Cupcakes

This Tuesday, we threw a baby shower for a coworker a baby shower at work (she is 10 weeks ahead of me in her pregnancy). Her blog is themed "a pea in the pod", so I figured that would be a good baby shower theme also. In addition to cute green and pink decorations along with a "P" crossword puzzle, I wanted to make some cupcakes! Using fondant to shape the peas and a flower cookie cutter to cut out the tiny pink flower, this is what I came up with.


Wednesday, July 18, 2012

Baseball Cupcakes

We were invited to a BBQ this past weekend for the One Hit Wonders baseball team my husband played on this summer. The captain of the team hosted at his house, and I thought some baseball themed cupcakes fit the occasion perfectly. I used fondant to create the decorations, and decorated the cupcakes as normal. Pretty easy and super cute!


Monday, July 9, 2012

Gender Reveal Cake

Saturday was the big day I got to announce to my family and friends the sex of our baby. Having known since Tuesday, it wasn't as hard to keep a secret as I thought it would be.


At the party, people kept trying to read into everything to figure out what the sex was by clues. My sister-in-law said "your nails are painted pink" to which I replied "but my toes are painted blue." A friend commented that Greg was wearing a blue shirt, and I told them that 90% of Greg's shirts are blue! I had to inform everyone that there were no clues and they would have to wait to cut into the cake I made to find out what it is!


We made everyone choose a team and wear a necklace based on their choice. It was 9-boy to 8-girl.


So after some delicious BBQ made by Greg, it was time to cut into the cake. We let the Grandma's do the honor since we already knew what was inside.


 You can see from the blue filling that IT'S A BOY!


Team Boy

Team Girl
We couldn't be happier to finally know the sex. Now it's time to start planning all the details in preparation for November 15.


Monday, June 4, 2012

DIY Canvas Painting

There are tons of canvas ideas on Pinterest. This is where we pulled our latest Pinterst party inspiration from! Each person brought their own supplies and came with a plan on what they would be painting. We basically bought the cheapest canvas, brushes and paint (on sale for 50 cents a color!) we could from Michael's and went at it.

This blog will be picture heavy as there isn't much explanation needed on how to paint! I apologize for the terrible photos taken with my phone, but here are our paintings!

This one is mine, I made it for the baby's bathroom.

Becca made this one, she is going to hang it over her baby girl's crib.


One of my favorites, I plan to do this with my baby's name.


Natalie's painting.

Kelly's work of art.

Tuesday, May 8, 2012

DIY Coasters

Month 4 of the Suburban Crafters Pinterest parties went very well! This month it was at my house, and despite my lack of space and the fact that we had more people than ever participate, the project turned out amazing! I chose (with the help of my mom) to make DIY coasters with bathroom tiles and mod podge.


To create these coasters you will need the following supplies:
  • 4-8 tiles per set. I did 6 per set, and I found bathroom tiles at Home Depot for 13 cents each!
  • Mod Podge, which you can find at any craft store
  • Brushes, I like the foam ones shown in the photo
  • Scrapbook paper, in the design of your choosing. Also to note, at our party someone used photographs on their coasters, and someone else used newspaper. Feel free to think outside the box!
  • A paper cutter or scissors
  • Felt, I picked black stiffened felt from the craft store that already had a sticky backing to on it.
  • Clear acrylic spray (to make them waterproof!)

So, first step first! I cut all of my paper to the exact size of the tile. Actually, I cut it one centimeter less than the size of the tile. I used my paper cutter to do the measuring, but I suppose you could use a ruler and scissors!

Next, you want to apply Mod Podge to the tile. After you do that, immediately place the cut paper on top of the Mod Podge and align it. Don't worry if it isn't perfect at first, you can slide it around the first few seconds before it hardens.


After that dries for a few minutes, you will then apply another coat on top of the scrapbook paper. I like to do two coats on top of the paper, but let the first one dry for about 15 minutes before applying the second one. I also like to put mod podge on the sides of the tile.


Once the tile dries, you can apply your cut felt (I cut mine into squares a half an inch less than the size of the tile) to the bottom of the tile. I just pulled off the sticky thing and stuck mine on. If your felt isn't already sticky, any type of glue should work well for this.


Once the Mod Podge is completely dry (about 2 hours), you need to spray the top of your coasters with the clear acrylic spray. We layed ours all out in the garage and sprayed them with two coats of the acrylic spray.


I think all of the tiles turned out so great! Here are some closeups.


Here are the ones I made:


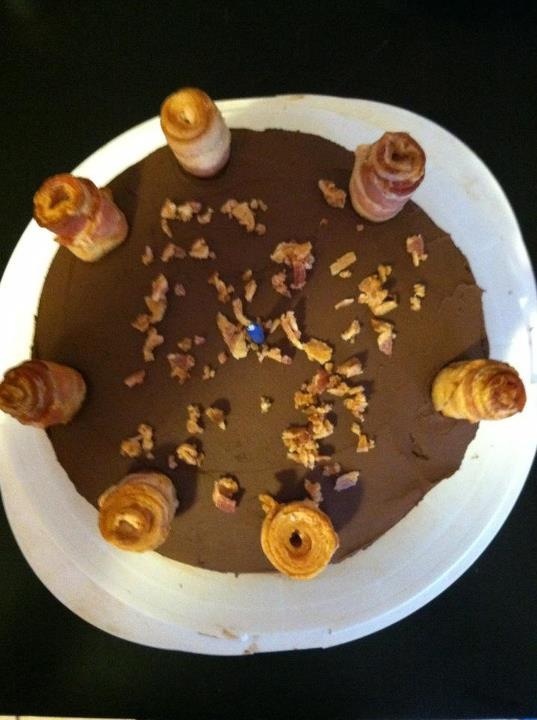
I also wanted to thank my friend Kelly for making me them most amazing chocolate bacon cake for my birthday and bringing it to the party!